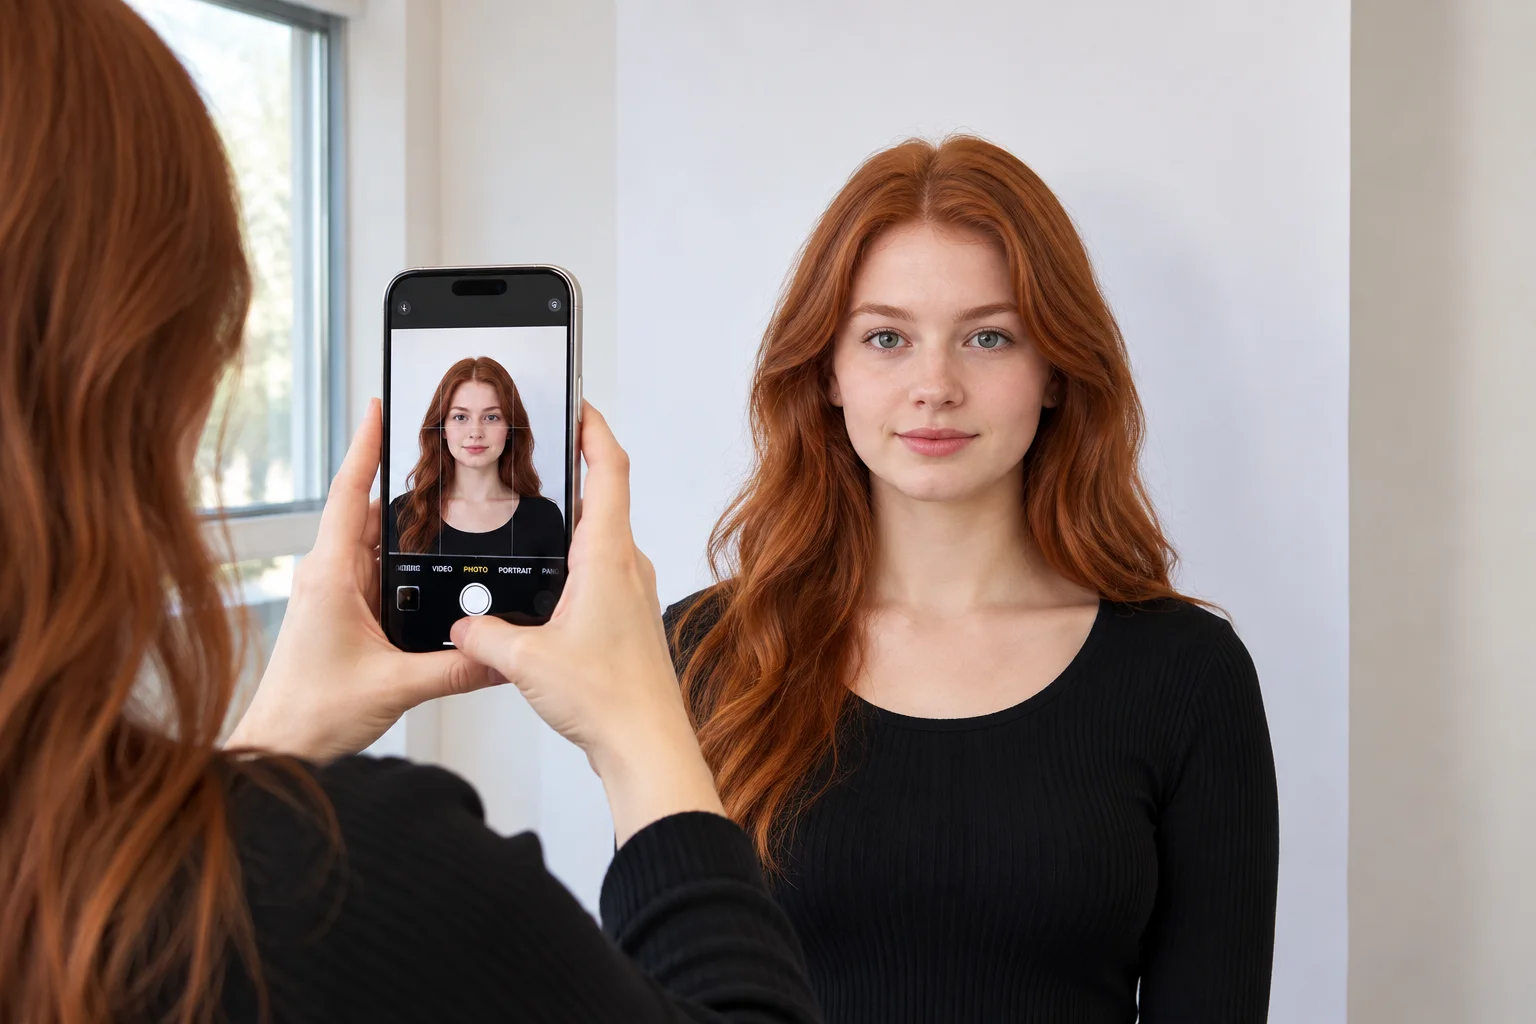
You can take a passport photo with an iPhone and use it for a US, UK or Australian application. Your camera is sharp enough, so the real work is setup: plain background, even light and a straight-on pose. Our tool then crops the photo, replaces the background and checks your head size before you download.
One important exception applies. Canada requires a commercial photographer for passport photos, so an iPhone photo does not work there. This guide covers the rules for all four countries, so you know what to expect before you start.
Can You Take a Passport Photo With an iPhone?
Most passport authorities judge the final photo, not the device. If the size, background, lighting and expression meet the rules, an iPhone photo passes. Here is how the four countries compare.
Where iPhone Passport Photos Are Accepted
| Country | Can you use an iPhone photo? | What to know |
|---|---|---|
| United States | Yes | Upload a digital photo online or print a 2 x 2 in photo. Make sure the file meets the digital rules. |
| United Kingdom | Yes | Upload a digital photo to the gov.uk service, or print 35 x 45 mm photos for a paper form. |
| Australia | Yes | You can take your own photo if it meets the rules. Paper applications need printed photos, and some need a guarantor signature. |
| Canada | No, for passports | Canada requires a commercial photographer, and the photographer must add details to the photo. An iPhone photo will not qualify. |
Always confirm the current rules on the official website before you apply. Guidance changes, and different application routes can have different requirements.
Passport Photo Requirements for the US, UK, Canada and Australia
Every country builds its rules on the international ICAO biometric standard, then adds local details. This table shows the main specifications side by side.
| Country | Photo size | Head height (chin to crown) | Background | Digital file | Photo age |
|---|---|---|---|---|---|
| United States | 2 x 2 in (51 x 51 mm) | 1 to 1⅜ in (25–35 mm) | Plain white or off-white | Square JPEG, 600 x 600 to 1200 x 1200 px, up to 240 KB | Within 6 months |
| United Kingdom | 35 x 45 mm | 29–34 mm | Plain cream or light grey | JPEG, at least 600 x 750 px, 50 KB to 10 MB | Recent, ideally within the last month |
| Canada | 50 x 70 mm | 31–36 mm | Plain white or light | Commercial photographer supplies it | Within 6 months |
| Australia | 35 x 45 mm (35–40 x 45–50 mm accepted) | 32–36 mm | Plain light colour | Check the current application route | Within 6 months |
Expression, Glasses and Headwear
These rules are similar across all four countries:
- Expression: Keep a neutral expression with both eyes open and your mouth closed. The US also allows a natural, subtle smile.
- Glasses: Take them off. Exceptions apply only for documented medical reasons, and even then you must avoid glare and tint.
- Headwear: Hats and caps are not allowed. Religious head coverings are fine if your full face stays visible from chin to forehead.
- Editing: Do not use filters, retouching or beauty modes.
How to Take a Passport Photo With iPhone in 3 Steps
- Take the photo. Use the rear camera against a plain wall in soft daylight, following the steps below.
- Upload it. Choose your country and document in the tool, then upload the picture. It accepts JPEG, PNG and HEIC files.
- Review and download. The tool crops the image, replaces the background and flags problems. Check the preview, then download your file. The same steps work for visas and other ID photos.
How to Take a Passport Photo From iPhone: Step by Step
Set Up Your Space
- Face a window so daylight falls evenly on your face.
- Avoid direct sun, lamps behind you and overhead lights that cast shadows.
- Stand in front of a plain, light wall, and keep frames and furniture out of the shot.
- Stand about one metre from the wall to reduce shadows behind your head.
- Wear a top that contrasts with the wall.
Change Your iPhone Camera Settings
- Camera: Use the rear camera, not the selfie camera.
- Mode: Choose Photo, not Portrait. Portrait mode blurs and alters the edges of your head.
- Flash and Live Photo: Turn both off.
- Filters: Set the filter to Original. If your iPhone has Photographic Styles, choose Standard.
- Grid: Turn on Grid in Settings > Camera to help you centre your head.
- Format: If you upload directly to an official portal, choose Most Compatible in Settings > Camera > Formats. This saves JPEG files instead of HEIC.
Position Your iPhone and Pose
- Hold the phone at eye level. A camera that points up or down distorts your face.
- Stand about 1 to 1.5 metres away, and leave space around your head for cropping.
- Look straight at the lens with your head level and shoulders square.
- Use the timer if you shoot alone, or ask a helper to press a volume button.
- Take several shots and choose the sharpest one.
Check Your Photo Before You Upload
Open the picture in the Photos app and zoom in. Look for blur, shadows, hair over your eyes and a tilted head. Retake the photo if you spot any of these.
How to Take a 2x2 Passport Photo on iPhone
The US uses a square 2 x 2 inch photo. You can shoot it the same way, then square it up on your iPhone.
- Open the photo in Photos and tap Edit.
- Tap the Crop icon and choose Square.
- Keep your head in the middle, with space above it.
- Upload the result to our tool and select the US passport or visa option.
The tool then sets the head height, background and file size. US digital photos must be square JPEG files between 600 x 600 and 1200 x 1200 pixels and no larger than 240 KB.
Using Your iPhone Photo for the UK, Canada or Australia
United Kingdom
The gov.uk service accepts a digital photo you take yourself. Your head must measure 29–34 mm from chin to crown on a plain cream or light grey background. Paper applications need printed 35 x 45 mm photos, and some need a countersignature on the back.
Canada
Canada is different. Passport photos must be taken by a commercial photographer, and the photographer must add the studio name, address and date on the back of one print. This rule applies to the photo itself, so no home photo or app can replace it. Some other Canadian immigration applications have different photo rules, so read the instructions for your specific form.
Australia
Australia asks for a 35 x 45 mm photo with a head height of 32–36 mm on a plain light background. You can take your own photo if it meets these rules. Paper applications may need a guarantor to sign the back of one photo, so check the current requirements for your application type.
Do You Need a Passport Photo App on iPhone?
No. Our tool works in Safari, so you can go from camera roll to finished file without installing anything. Select your country and document, upload your photo and preview the result for free. You pay only if you download the final file.
How to Print Your iPhone Passport Photo
Printed photos are needed for many paper applications. You have two easy options:
- Print at a shop or kiosk. Save the print sheet to your iPhone, take it to a pharmacy or photo kiosk, and ask for a 6 x 4 inch print with no cropping.
- Print at home with AirPrint. Tap Share, tap Print and choose your printer. Load glossy or matt photo paper and select the highest quality.
Print at 100% scale, then measure one photo with a ruler to confirm the size. Plain office paper is not suitable.
Common iPhone Passport Photo Mistakes and How to Fix Them
| Mistake | Why it gets rejected | Fix |
|---|---|---|
| Selfie distortion | The lens stretches your nose and forehead | Use the rear camera from about 1 to 1.5 metres |
| Shadows on the wall | Uneven light hides your features | Face a window and stand away from the wall |
| Beauty filters | The photo no longer looks like you | Use the Original filter and skip edits |
| Glasses or glare | Reflections hide your eyes | Take glasses off unless you have a medical reason |
| Wrong print scale | Printers shrink photos to fit the page | Print at 100% scale and measure with a ruler |
Official Government References
Frequently Asked Questions
Avoid Passport & Visa Photo Rejections
Our automatic AI tool fixes background shadows, crops to exact millimeter specs (2x2" or 35x45mm), and guarantees 100% biometric compliance.
Create & Fix My Photo Now